Renaming PocketLab Voyager and Weather
PocketLab Odyssey, Voyager, Weather, G-Force, and newer versions of PocketLab Air can be renamed at this time. For other PocketLab sensors, the signal strength indicator can help you determine which is the closest to your computer or phone.
The names of the PocketLab Voyager and Weather can be changed. This can make it easier for students to know which PocketLab they are selecting to start a connection.
-
Go to https://app.thepocketlab.com on a Chrome or Edge browser
- Sign in as a Teacher. Note: you must be signed in as a teacher in order to rename sensors.
- Navigate to the Trials page
-
Click Connect a PocketLab
-
A Bluetooth window will appear. Turn the PocketLab on, the name of the PocketLab should appear in the window. (Likely it's PL Voyager)
-
Click the name and click pair.
-
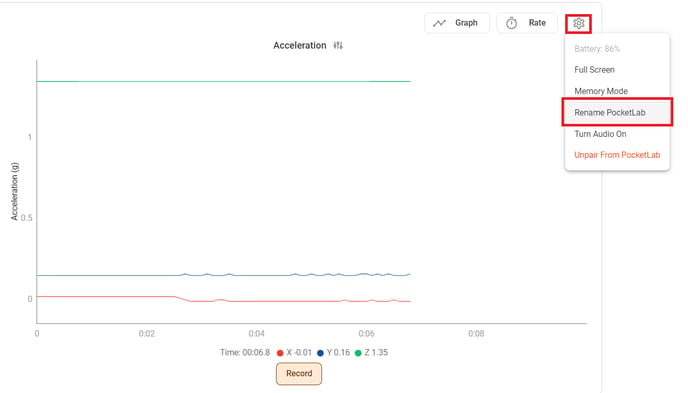
Once paired click the setting icon in the upper right corner. Then click Rename PocketLab
-
Type the new name of the PocketLab (PL Group 1 for example)
-
Click Save
-
Turn the PocketLab off by holding the power button.
-
Refresh the browser page.
-
Click Connect a PocketLab and repeat the connection processNOTE: It is expected that the name of the PocketLab will not have changed yet. Do not open the renaming menu again as this will reset the process.
-
Once connected, turn the PocketLab off again and refresh the browser page.
-
Repeat the connection process again. The old name might still appear on devices you have already connected to for the next 1-2 times you connect due to the way Bluetooth devices are cached on some devices. New devices will see the new name immediately.